Trusted by 150+ Homeowners
Crawlspace Encapsulation in The Colony, TX
- Over 150 5-Star Reviews
- Free Estimates and Quotes
- 100% Satisfaction Guaranteed
- Child, Family & Pet Safe Steps
- 24-Hour Emergency Service
- Fully Licensed & Insured

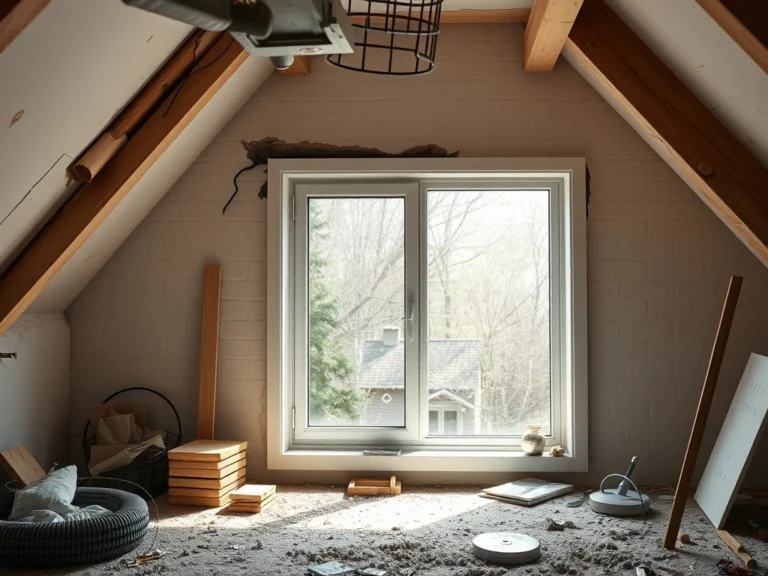
You open your front door after a long day, and a faint, damp smell hits you. It’s not strong, but it’s definitely there. You trace it back, maybe to a bathroom vent, or perhaps it’s just… everywhere. You know something isn’t right. You suspect it’s coming from beneath your floor. It’s a growing concern, and you’re right to investigate. That musty odor is often the first sign of trouble brewing in your crawlspace, especially around The Colony, TX.
We’ve helped over 165 local families solve their crawlspace issues, earning more than 165 five-star reviews. Homeowners trust our team because we understand the specific challenges you face in this area. We don’t just mask problems; we provide lasting solutions for your property. You need a team that knows how to properly address moisture and its effects, and that’s exactly what we do.
- Stop Mold Growth Before It Starts: Encapsulation creates a barrier against the moisture that mold and mildew need to thrive, protecting your home’s health.
- Improve Your Home’s Air Quality: A sealed crawlspace prevents musty air, dust, and allergens from circulating into your living spaces, making your home healthier.
- Increase Energy Efficiency: By sealing your crawlspace, you prevent conditioned air from escaping and outside air from entering, which can lower your energy bills.
The Science Behind a Properly Sealed Crawlspace
A truly effective crawlspace encapsulation isn’t just about throwing down a liner. It’s a precise process involving science and specialized equipment to create a controlled environment. When corners are cut, you’re left with a temporary fix that can lead to bigger, more expensive problems down the road. Our crews use advanced moisture meters and industrial-grade sealing materials to ensure your crawlspace is protected correctly the first time.
Step 1: Assessment and Moisture Testing
We start by thoroughly inspecting your crawlspace, identifying all sources of moisture. This includes checking for leaks, standing water, and high humidity levels. We use digital hygrometers to get precise humidity readings, establishing a baseline before we begin work.
Step 2: Water Removal and Drying
If there’s standing water, we use specialized pumps to remove it efficiently. Then, we deploy industrial dehumidifiers and air movers to dry out the space. This critical step ensures we’re not just sealing in existing moisture, which would defeat the purpose and lead to further damage.
Step 3: Debris and Contaminant Removal
Before sealing, we clear out any old insulation, debris, or potential mold growth. This prepares a clean surface for the vapor barrier and ensures we’re not trapping anything harmful. It’s about creating a healthy, clean foundation.
Step 4: Installing the Vapor Barrier
We meticulously install a heavy-duty, multi-layer vapor barrier, covering the entire crawlspace floor and up the foundation walls. This barrier is sealed at all seams and penetrations using specialized tapes and adhesives. This is the primary defense against ground moisture.
Step 5: Sealing Vents and Access Points
All crawlspace vents are permanently sealed, and any access doors are fitted with airtight seals. This completely isolates the crawlspace from the outside environment, preventing humid air from entering. It creates a controlled interior climate.
Don’t wait for the musty smell to become unbearable or for structural issues to appear. Take action now to protect your home’s foundation and your family’s health. Call us today for a fast, accurate assessment.
Warning Signs You Need Crawlspace Encapsulation
Your home often tells you when it needs attention, and your crawlspace is no different. Ignoring these signs can lead to costly repairs and compromised indoor air quality. Catching these issues early with a professional assessment is key to preventing more severe structural damage.
Musty Odors That Won’t Go Away
That persistent damp, earthy smell isn’t just unpleasant; it’s a clear indicator of moisture problems. It means mold and mildew are likely thriving in the dark, humid environment. This smell often permeates your home.
Visible Mold or Mildew Growth
If you see fuzzy green, black, or white patches on your floor joists, insulation, or foundation walls, it’s a direct sign of mold. This growth thrives in damp conditions and can spread quickly. It’s a serious health concern.
Damp or Wet Insulation
Soggy, compressed insulation in your crawlspace is a red flag. It means moisture is present and actively degrading the insulation’s effectiveness. It can also become a breeding ground for pests and mold, leading to expensive replacement costs.
High Humidity Levels
Even if you can’t see mold or smell it strongly, consistently high humidity in your crawlspace is a problem. We use specialized tools to measure this, confirming the dampness. This moisture can lead to wood rot and structural weakness.
Wood Rot or Insect Infestation
Constantly damp wood is susceptible to rot and decay, weakening your home’s structure over time. This attracts termites and other wood-destroying insects. You might notice soft spots in your floorboards.
Increased Energy Bills
An unsealed, damp crawlspace acts like a hole in your home’s thermal envelope. Warm air escapes in the winter, and cool air escapes in the summer, making your HVAC system work harder. This directly impacts your monthly utility costs.
Crawlspace Encapsulation vs. DIY: When To Call a Professional
| Situation | DIY? | Call a Pro? | Why |
|---|---|---|---|
| Sealing minor ground moisture seeps | Yes, with caution | Yes | Improper sealing can trap moisture, leading to worse problems. |
| Installing a basic vapor barrier | Possible, but challenging | Yes | Achieving airtight seals and proper overlap requires skill and specialized tools. |
| Removing standing water | Only with proper equipment | Yes | DIY pumps may not be adequate; professional equipment ensures thorough removal and drying. |
| Dealing with mold growth | Absolutely Not | Yes | Mold remediation requires safety protocols and effective treatments professionals are trained for. |
| Encapsulating a large or complex crawlspace | No | Yes | Large areas require more material, precise sealing, and often specialized ventilation integration. |
| Addressing persistent musty odors or high humidity | No | Yes | These are symptoms of underlying issues that need professional diagnosis and a complete encapsulation strategy. |
While some minor moisture issues might seem manageable yourself, a full crawlspace encapsulation is a complex project. For guaranteed results and to avoid creating new problems, trusting our experienced technicians is the smartest approach.
Crawlspace Encapsulation Cost In The Colony, TX
The cost for crawlspace encapsulation in The Colony, TX can vary significantly based on the size of your crawlspace, the extent of the moisture damage, and any necessary repairs. These figures are estimates to help you budget; a precise quote requires an on-site inspection. We aim for transparent pricing for all our services.
| Service Aspect | Typical Price Range | What Affects Cost |
|---|---|---|
| Crawlspace Inspection & Moisture Testing | $200 – $500 | Size of crawlspace and complexity of investigation. |
| Water Removal & Drying | $300 – $1,500 | Amount of standing water and drying time needed. |
| Debris & Mold Remediation | $500 – $2,000+ | Volume of debris and severity of mold infestation. |
| Vapor Barrier Installation (6-mil+) | $1,500 – $4,000+ | Square footage of the crawlspace and quality of barrier material used. |
| Sealing Vents & Access Points | $200 – $600 | Number of vents and type of access door sealing required. |
| Insulation Removal/Replacement (if needed) | $500 – $2,000+ | Amount of insulation to be removed and replaced, and material choice. |
For an accurate estimate tailored to your specific situation, we offer free on-site assessments. We’ll walk you through the findings and provide a detailed, no-obligation quote.
Service Areas Near The Colony, TX
Little Elm, Frisco, Plano, Carrollton, Lewisville, Richardson, Dallas, Addison, McKinney, Prosper, Allen, Garland, Rowlett, Rockwall, Irving, University Park, Highland Park, Sachse, Wylie, Coppell.
Common Questions About Crawlspace Encapsulation
What causes crawlspace moisture problems?
Moisture in your crawlspace typically comes from two main sources: the ground beneath your home and outside air entering through vents. High humidity, poor drainage around your foundation, and leaky pipes also contribute significantly. Addressing these root causes is essential for long-term crawlspace health.
How long does a crawlspace encapsulation project take?
The timeline can vary, but a standard crawlspace encapsulation typically takes 2 to 4 days. This includes the initial assessment, water removal if necessary, drying time, and the installation of the vapor barrier and sealing. We work efficiently to get your home protected with minimal disruption.
Is crawlspace encapsulation covered by homeowners insurance?
Generally, homeowners insurance does not cover the cost of encapsulation if it’s considered a preventative measure or due to normal wear and tear. However, if the moisture issue or resulting mold is a direct result of a covered peril (like a sudden pipe burst), some costs might be covered. It’s always best to check your specific policy and consult with your provider.
What are the health risks of a damp crawlspace?
A damp crawlspace is an ideal breeding ground for mold, mildew, dust mites, and bacteria. These contaminants can easily travel into your living areas through air circulation, potentially causing or exacerbating respiratory problems, allergies, and other health issues. It’s a serious indoor air quality hazard.
Can I just seal my crawlspace vents to fix the problem?
Simply sealing vents without addressing the underlying moisture source and installing a proper vapor barrier is often not enough. In some climates, vents are designed to allow air circulation to manage moisture. A true encapsulation creates a sealed, conditioned environment that manages moisture effectively, which is far more robust than just closing vents.
Check Our Other Relevant Services
Serving The Colony, TX And Nearby Areas